Moisture release rates, not cooking time alone, determine whether sheet pan chicken and green beans roast or steam on the same pan. Green beans shed surface water quickly as their cell walls soften, while chicken releases rendered fat and internal juices at a slower, temperature-dependent rate.
When both are placed together without structural control, that combined moisture accumulates across the pan surface, softening instead of drying the exterior.
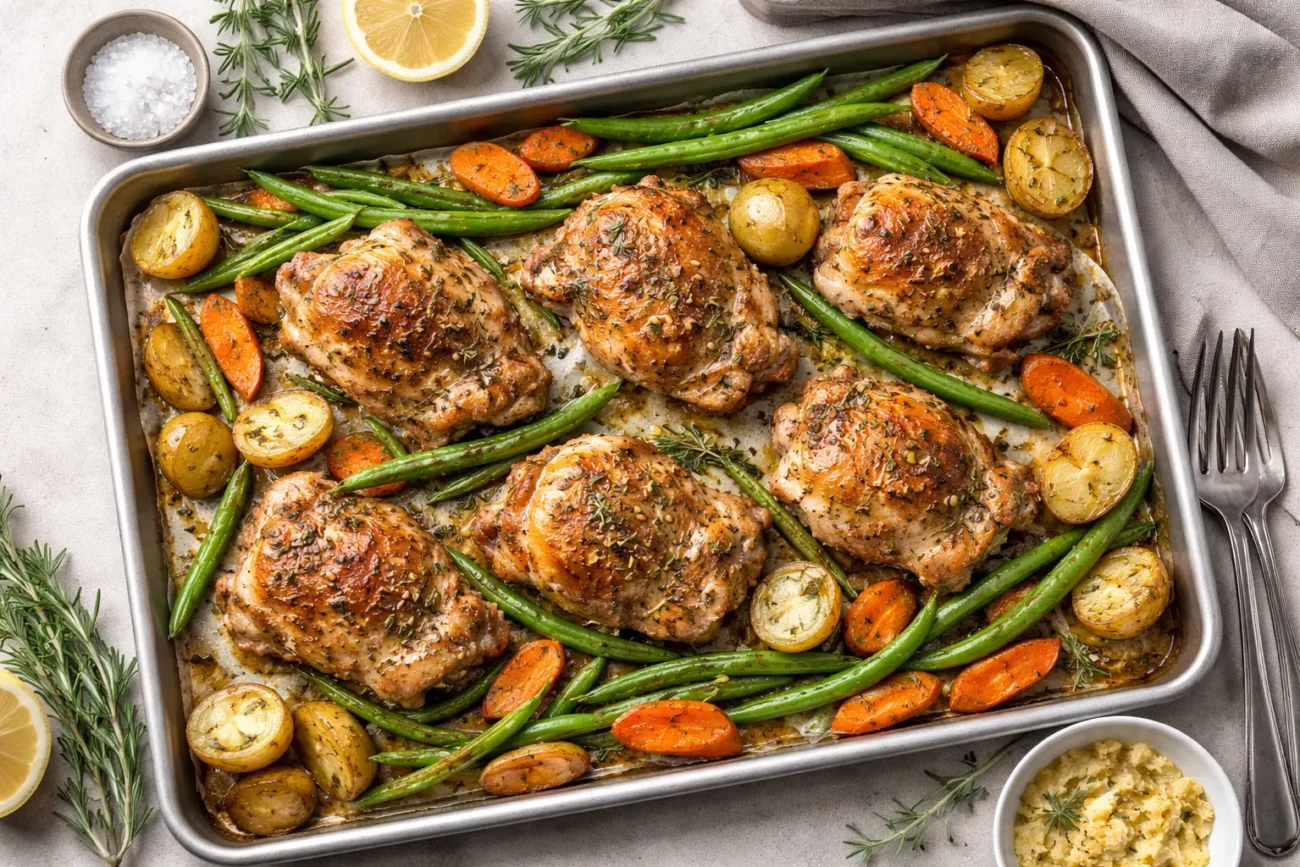
Properly roasted green beans show slight blistering and wrinkling along the skin, while chicken develops a firm, browned exterior where fat has rendered away. The practical adjustment is immediate: separate timing or spacing must be introduced so evaporation outpaces moisture release.
Why Chicken and Green Beans Cook at Different Rates
Chicken and green beans behave as fundamentally different roasting materials. Chicken is a dense protein structure composed of muscle fibers and connective tissue that require sustained heat to denature and reach safe doneness. Green beans, by contrast, are high-moisture vegetables with thin cell walls that soften rapidly and release water early in the cooking process.
This mismatch creates a timing conflict. Green beans begin releasing moisture within minutes of entering a hot oven, while chicken is still in the early stages of heat penetration. If both are placed on the pan at the same time without adjustment, the beans effectively flood the cooking environment with steam before the chicken has developed a dry surface capable of browning.
Understanding this difference reframes the method: the goal is not simultaneous cooking, but controlled alignment of two separate cooking curves.
The Case for Staggered Roasting Instead of One-Step Cooking
Staggered roasting resolves the mismatch between protein density and vegetable moisture release. Chicken, especially bone-in or thicker cuts, benefits from an initial roasting period alone. This allows the surface to dry, fat to begin rendering, and browning to initiate before additional moisture is introduced.
Green beans are then added later in the cooking process, once the chicken has established a dry roasting environment. At that point, the oven’s heat and airflow can handle the beans’ moisture output without overwhelming the system.
Boneless chicken cuts reduce the need for long staggering, but the principle remains: the denser the protein, the earlier it should begin cooking relative to high-moisture vegetables.
Why 425°F Creates the Correct Roasting Environment
A 425°F oven establishes the balance required for sheet pan roasting: rapid moisture evaporation and accelerated surface browning. At lower temperatures, water released from both chicken and green beans accumulates faster than it evaporates, leading to steaming rather than roasting.
At 425°F, two processes occur simultaneously:
- Moisture evaporates quickly enough to keep the pan surface dry
- The Maillard reaction progresses efficiently, producing browning on both chicken and vegetables
This temperature also shortens total cook time, limiting how long green beans remain exposed to heat after softening — which helps preserve their structure instead of allowing them to collapse into softness.
How Spacing Controls Browning on a Sheet Pan
Spacing is the controlling variable that determines whether roasting or steaming occurs. When ingredients are placed too close together, evaporated moisture becomes trapped between them, creating localized steam zones that inhibit browning.
Each piece of chicken and each cluster of green beans must have exposed surface area. Air must circulate freely around them so moisture can escape rather than condense.
A practical rule: no ingredient should touch another in a way that blocks airflow. If the pan appears crowded, it is already too full. Using two sheet pans instead of one often produces a better result than forcing all ingredients onto a single surface.
Ingredient Preparation That Changes the Outcome
Preparation directly influences how moisture behaves during roasting.
Chicken:
- Pat dry thoroughly before seasoning
- Surface moisture delays browning by requiring evaporation first
Green Beans:
- Trim ends and dry completely
- Excess rinse water accelerates steaming
Oil:
- Use 1–2 tablespoons of oil distributed evenly
- Oil improves heat transfer and promotes browning
Cut Size:
- Keep green beans whole or halved lengthwise
- Avoid piling or clumping, which traps steam
The goal of preparation is not flavor alone — it is moisture control and surface exposure.
Step-by-Step Method for Sheet Pan Chicken and Green Beans
Key Recipe Summary
- Prep Time: 10 minutes
- Cook Time: 25–35 minutes
- Total Time: 35–45 minutes
- Servings: 4
- Cooking Method: High-heat sheet pan roasting
- Primary Equipment: Rimmed sheet pan, oven, thermometer
- Difficulty Level: Beginner–Intermediate
Ingredients
- 4 bone-in, skin-on chicken thighs (about 1.5–2 pounds)
- 12 ounces fresh green beans, trimmed
- 2 tablespoons olive oil
- 1 teaspoon kosher salt
- ½ teaspoon black pepper
- Optional: garlic powder, paprika, or lemon zest
Equipment
- Rimmed sheet pan (prevents rendered fat runoff)
- Oven (consistent high heat)
- Instant-read thermometer (accurate doneness check)
Instructions
- Preheat oven to 425°F
Ensure the oven is fully preheated before introducing food. A stable high temperature supports immediate evaporation. - Prepare the chicken (5 minutes)
Pat chicken dry and coat lightly with oil and seasoning. The surface should feel dry, not wet. - Start roasting chicken alone (15 minutes)
Place chicken skin-side up with space between pieces. After 15 minutes, the skin should begin to tighten and lightly brown. - Prepare green beans (5 minutes)
Toss with oil and seasoning. Ensure beans are dry and evenly coated. - Add green beans to the pan
Spread beans around the chicken without overcrowding. Avoid piling them directly under the chicken. - Continue roasting (10–20 minutes)
Roast until chicken reaches safe doneness and beans show blistering and slight browning. - Check doneness
Insert thermometer into thickest part of chicken without touching bone.
What 165°F Actually Looks Like in Practice
Chicken is considered safe to eat at an internal temperature of 165°F, as established by USDA guidelines. At this point, muscle fibers have fully denatured, and juices run clear rather than pink.
Visually, properly cooked chicken shows:
- Firm but not rigid texture
- Skin that remains intact and slightly crisp
- Juices that no longer appear cloudy
Carryover cooking may raise temperature slightly after removal from the oven, so removing the chicken just before it fully stabilizes at 165°F prevents overcooking.
Why Green Beans Turn Soggy and How to Prevent It
Soggy green beans result from moisture accumulation exceeding evaporation capacity. This typically occurs due to three factors:
- Overcrowded pans
- Wet beans entering the oven
- Insufficient oven temperature
When moisture cannot escape, it condenses on the pan surface and effectively boils the beans instead of roasting them.
Prevention depends on:
- Drying beans thoroughly
- Maintaining high heat
- Ensuring proper spacing
When these conditions are met, green beans blister rather than soften, retaining structure while developing surface browning.
FAQ: Timing, Temperature, and Pan Strategy
Can you cook chicken and green beans together on one pan?
Yes, but only when spacing and timing are controlled. Without adjustment, moisture imbalance leads to steaming.
Why are my green beans soggy in the oven?
Excess moisture combined with overcrowding prevents evaporation, causing steaming instead of roasting.
What temperature should sheet pan chicken be cooked at?
425°F provides the best balance between browning and moisture evaporation.
How long does it take to cook chicken and vegetables together?
Typically 25–35 minutes total, depending on cut size and whether cooking is staggered.
Do green beans need to be pre-cooked before roasting?
No. Proper spacing and temperature eliminate the need for pre-cooking.
Storage, Reheating, and Texture Preservation
Store cooked chicken and green beans in the refrigerator for up to 3–4 days. Use an airtight container to limit moisture absorption.
Reheat in a 350–375°F oven rather than a microwave. Oven reheating restores surface dryness and prevents the chicken skin from softening excessively.
One Pan Does Not Mean One Timeline
Sheet pan cooking appears simple because it uses a single surface, but that surface hosts multiple thermal environments at once. Protein, fat, and vegetables each respond to heat on different timelines, releasing moisture at different rates and requiring different conditions to brown effectively.
Treating all ingredients as if they behave the same leads to predictable failure. Treating them as independent variables — staged, spaced, and managed — transforms the sheet pan from a convenience tool into a controlled cooking system.
Editorial Transparency Statement
This article is research-based and informed by culinary science, official food safety guidelines, and established roasting technique principles. It does not rely on personal kitchen testing.
USDA: Food Safety and Inspection Service (FSIS)
Serious Eats: Technical Guide
America’s Test Kitchen: Cook’s Illustrated Technical Guide